U47a Kit Construction Guide
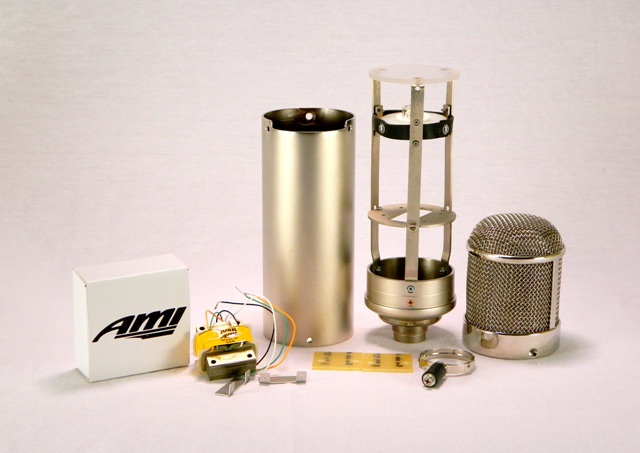
We’ve sold a number of our U47 kits to folks interested in DIY (do it yourself) mic projects. We also have a number of folks who would love to try out this project but are nervous about getting in over their heads. Oliver recently built a couple of kits into mics for a potential OEM client who wanted to see how the mic would look and sound when fully completed. During this process, he took the following pictures to show a step by step instruction on building your own microphone using our AMI U47 kit. Hopefully, folks will find this basic tutorial helpful.
The beauty of the historic U47 comes from both the simplicity of its design and the flattering output that it provides to many sources. Almost 70 years later, the U47 still sets the standard for microphones that add color or harmonics to a sound source. Using modern components, you can make a quality microphone for use in your studio with similar sonic characteristics of the historic U47. Plus, your new mic can be a platform for testing your own design ideas down the road. You should read through this whole article before starting your project.
The first thing you will need to decide is the goal of your mic. If your goal is to have a U47 on your list of microphones to attract clients then you should go buy an historic U47! However, if you’re looking to build a kit to make a great sounding mic in the direction of the historic U47 for a fraction of the cost then you should read on. You will then need to decide as to how close you want your mic to be to an historic U47. For example, the historic U47 came with polarity switching in the head basket (cardioid and omni). The historic U48 was the same mic but with figure of 8 instead of omni. Many of today’s mics come stock with remote polarity switching on the power supply as originally done in the historic Neumann M49 providing more sonic options in the studio. Some will point out that deviating from the original switching scheme will make the mic not like a U47. Others contend that the additional polarity positions and convenience of the remote polarity switching are a benefit. Our kits currently do not have the on mic switching assembly so if this is important for your build then you will need to determine how you will achieve this outside of our current kit.
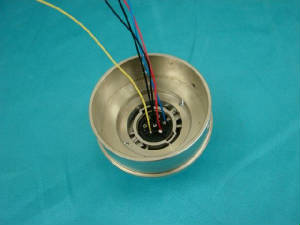
When building your mic, you should start at the bottom bell. We strongly recommend using the Binder connector system rather than the original Tuchel connectors. Finding the originals for sale is challenging and incredibly expensive. Yes, there are modern Tuchel type connectors being made but their construction is not the same as the originals. The original versions were an engineering marvel due to the tight tolerance and the self-cleaning nature of the blades every time you inserted them and disconnected them. The Binder connectors are rugged and tight, readily available, a fraction of the cost of a NOS Tuchel and not in danger of being discontinued anytime soon. We use the Binder connectors on the Lucas series microphones as well and we have had no issues with their durability.
The U47 was an achievement because of the simplicity of its design. Even the alternate tube designs do not have too many parts. At AMI, we do not supply these components for a couple of reasons. First, you can buy any of these parts on-line directly from suppliers. If we bought them and stocked them than we would just be a middle man charging you a middle man fee for something that you can source on your own. Secondly, we have no idea what you want to make! Folks are using our kits to make VF14 U47’s, EF14 U47’s, glass tube versions, remote polarity versions, UM57’s, FET47’s, franken-mics, etc. It would not be feasible to stock every value for every combination that could exist. And finally, just like many internet debates, the debate as to what is the perfect capacitor and resistor rages on. What sounds better- an MP or a Poly cap? Wire wound or carbon comp? Some folks want to build a mic and then swap every possible component option into every slot to find the perfect combination. These component choices are all a matter of taste and if you’re looking to make a great sounding mic just buy high quality components, put it together and make some music! If you're looking for a schematic and BOM (build of materials) you can check out Oliver's design here.
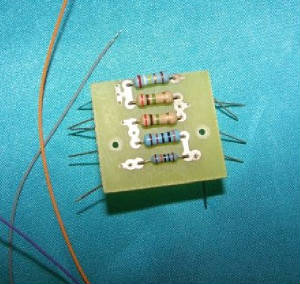
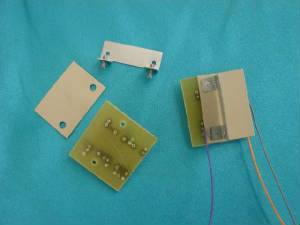
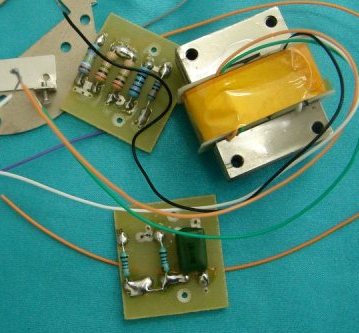
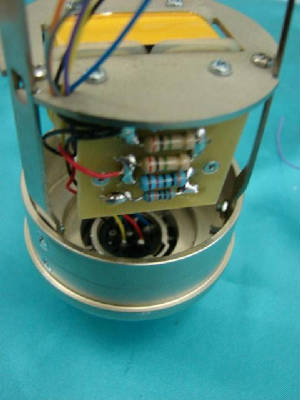
Here is a close up look at the main resistor board. The voltage divider for the polarization voltage will depend on the main B+ voltage needed for the particular capsule that you have selected. If you do not know whether to go 105, 120 or even 150V just shoot us an e-mail with the capsule that you’d like to use and we can get you an answer pretty quickly. We are more than happy to help.
How to solder? Big drops, small drops? Sounds like a goofy question but we get asked that all the time. Again, everyone on the internet has an opinion on something basic like soldering techniques. Like many things in audio it is simply a matter of taste. Some people say solder drops as small as possible, but if you look inside an historic U47 you’ll see that they had pretty big drops to make their connections! The important thing is to make sure that you have a good electrical connection with no cold solder joints and no solder bleeding over to other circuit paths. Everything else is a matter of what looks aesthetically pleasing to your eye.
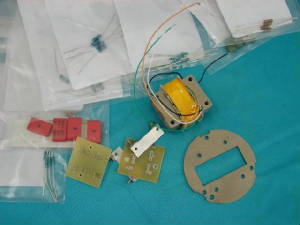
We like to put an isolation spacer behind the PCB. This helps to keep the solder joints away from the brackets, transformer and any other internal metal components to prevent any shorts inside the microphone.
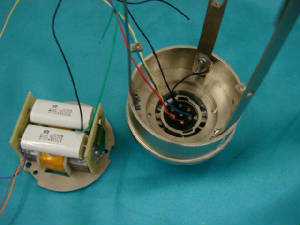
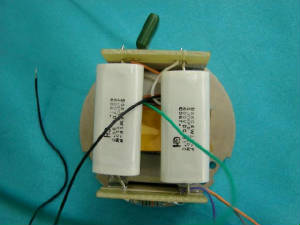
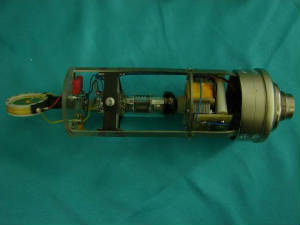
Here is a picture of the finished transformer deck, ready for assembly.
Just loosely attach the support ribs to the bottom bell so there is enough room to slide in the transformer deck. Again, start from the bottom up.
The wiring of the transformer deck is quite easy, the type of wire? The early vintage units used double build silk wire and later revisions switched to PVC. Both silk and PVC can deteriorate over time so today Teflon is a good option. You can still buy wire that is insulated with silk and PVC if you want to go that route but we use Teflon due to the fact that it is a longer lasting material. Whichever route you decide to go, just make sure it is done neatly!
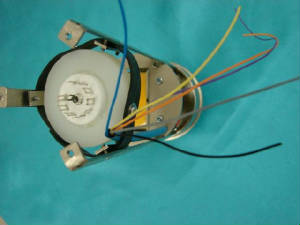
What tube should you use? Trying to get a VF14 tube on eBay? How about an EF14 or EF12? There certainly is an allure to going the steel tube route as your mic will look vintage when you open it up to show your friends. Be forewarned that they are expensive and many that are sold on eBay have already been tried and rejected by someone else… But if the look is important and the cost works for your budget, then take your time to search for a good low noise version of a steel tube. We have found several glass tubes that we believe are in the same battle class as a good working VF14 for a fraction of the cost. The AMI kit comes with a 9 pin Noval socket mounted on a nylon wafer so the dimensions are the same to a steel tube socket. PVC or shrink tubing is a good idea to conduit the supply wires. And by the way not all vintage 47 had a yellow PVC tube!
The capsule type? That is a whole other debate. The early U47’s came with M7 capsules- center terminated capsules where the PVC diaphragm was glued to the back plate. The later versions shipped with the KK47- also center terminated but with a Mylar diaphragm that was secured with a brass ring that was screwed to the back plate. There are fans of both types and it’s simply a matter of taste which you prefer. A genuine Neumann KK47 is very cool but pricey, especially as your first build where you may be concerned with making a mistake! The Thiersch M7 PVC is the only one to come close to the old Berlin Made M7 magic but it also may be out of the budget for most folks. There are several aftermarket capsules that will just work fine including some good Chinese made capsules. The great thing about building a kit is you can start off with a budget tube and capsule and upgrade later on after you have worked out all of the kinks in your project.
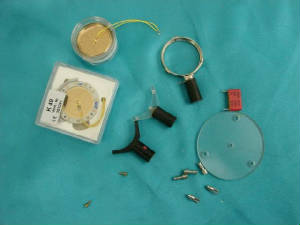
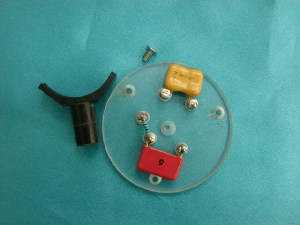
The remote polarity position switch version uses a Plexiglas board instead of the traditional satin nickel finished aluminum capsule plate. Here is ours shown with Keystone standoffs so that the parts can be mount easily and neatly.
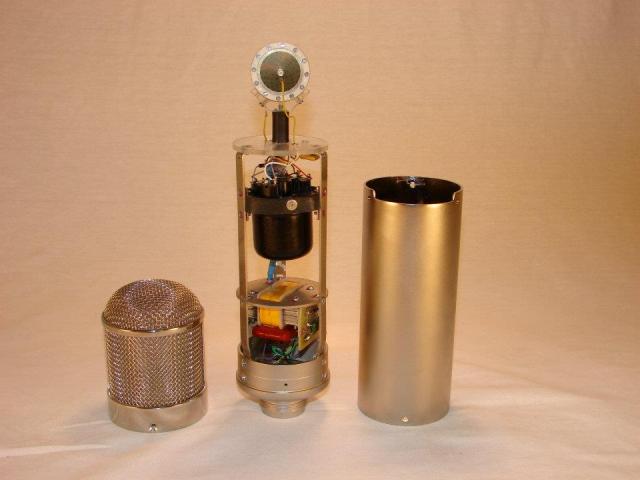
Here is a finished mic assembly with a Neumann KK47 capsule. There are a number of options for glass tubes to use in an alternate tube version: EF42/43/80/800/802/85/860 and a number of American made alternatives that also sound great.
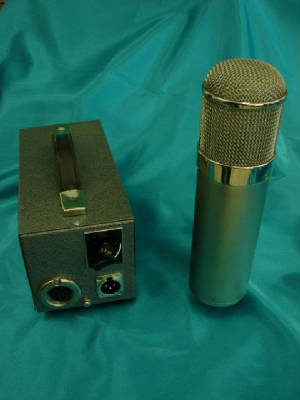
The final mic using an AMI 120V capsule polarization and an adjustable 2-8V filament supply with remote polarity position switch.
Here is a nice VF14 based version of the kit…

